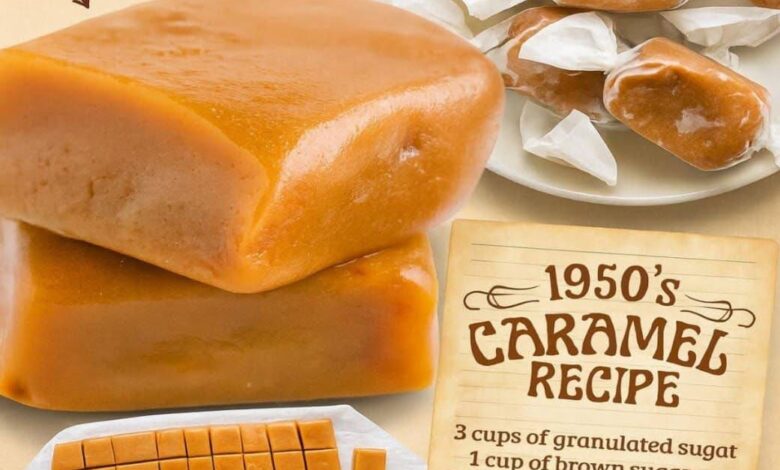
These golden, buttery caramels melt in your mouth with a rich, creamy texture and a perfect balance of sweetness. They’re a nostalgic treat that feels fancy but is completely achievable in your own kitchen. Perfect for gifting, sharing, or sneaking straight from the pan
Preparation Details**
- Prep Time: 15 minutes
- Cook Time: 45–60 minutes
- Cooling Time: 2–3 hours
- Total Time: About 3½ hours
- Yield: ~100 soft caramels (depending on cut size)
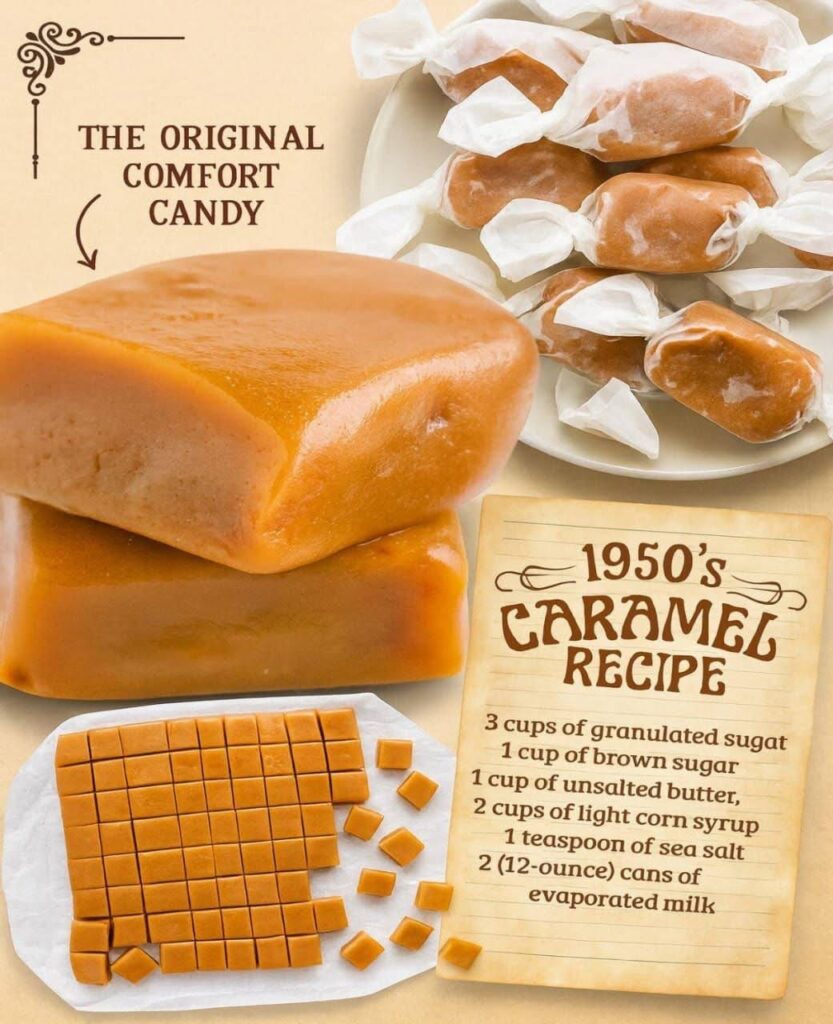
Ingredients**
- 3 cups granulated sugar
- 1 cup light brown sugar (packed)
- 1 cup unsalted butter (2 sticks), cut into chunks
- 2 cups light corn syrup
- 1 tsp sea salt
- 24 oz evaporated milk (about 2 standard 12-oz cans)
- 1 tsp pure vanilla extract (optional but recommended)
Equipment Needed**
- Heavy-bottomed 4–5 quart saucepan
- Candy thermometer (essential!)
- Wooden spoon or heatproof spatula
- 9×13-inch pan (lined with parchment and lightly buttered)
- Sharp knife or kitchen shears for cutting
Instructions**
1. Prepare the Pan
Line a 9×13-inch baking pan with parchment paper, letting it hang over the sides for easy removal. Lightly butter or spray the paper.
2. Combine the Base Ingredients
In your large heavy saucepan, combine:
- Granulated sugar
- Brown sugar
- Corn syrup
- Butter
- Salt
Heat over medium, stirring constantly until the butter melts and sugars begin to dissolve.
3. Add the Evaporated Milk Slowly
Once the mixture starts bubbling, add evaporated milk slowly, about ¼ cup at a time. Stir constantly after each addition.
This gradual process ensures smooth, creamy caramels instead of grainy ones.
4. Cook to the Perfect Temperature
Continue cooking and stirring constantly until the temperature reaches 238–242°F (soft ball stage) on your candy thermometer.
This takes about 45–60 minutes, depending on your stove. Don’t rush it—slow cooking develops that deep caramel flavor.
5. Add Vanilla & Pour
Once the desired temperature is reached, remove from heat and stir in 1 tsp vanilla extract (if using). Immediately pour into the prepared pan and let cool at room temperature for 2–3 hours, or until firm.
6. Cut and Wrap
Once fully cooled, lift the caramel slab from the pan using parchment paper edges. Cut into 1-inch squares using a sharp knife.
Wrap each piece in wax paper or cellophane to prevent sticking.
Tips for Success**
- Consistency: For firmer caramels, cook closer to 245°F. For softer, chewier ones, stop at 238°F.
- Stir constantly: Prevents scorching and keeps texture smooth.
- Storage: Store in airtight containers at room temp for up to 2 weeks—or refrigerate for longer freshness.
A Bit of History**
Caramels date back to at least the 17th century, originally made from sugar and water. By the 1800s, American confectioners began adding butter and cream, giving us the rich, soft versions we adore today. The name comes from the Spanish caramelo, meaning “burnt sugar.”
Benefits**
- Made with simple pantry staples
- Free from artificial ingredients
- Great for holiday gifting
- Can be dipped in chocolate, sprinkled with sea salt, or infused with flavors like espresso or vanilla bean
For the Caramel Lovers**
This recipe is beloved by candy makers and home bakers alike—smooth, luscious, and deeply buttery. Whether you drizzle it over apples, blend it into lattes, or gift it in jars tied with ribbon, it’s pure homemade happiness.
Nutrition (per piece, approx.)**
- Calories: 90
- Fat: 3.5g
- Carbohydrates: 14g
- Sugar: 13g
- Protein: <1g
Conclusion**
Homemade caramels may take patience, but every silky, buttery bite proves it’s worth it. Once you make them from scratch, you’ll never go back to store-bought