Ingredients:
- Unbleached bread flour – 520 g
- Fine sea salt – 12 g
- Filtered water – 385 g (room temperature)
- Active fed starter – 100 g
- Rice flour – for dusting the banneton and surface
Instructions:
1. Make the Levain (Starter Feed)
Before you start mixing the dough, make sure your starter is active and bubbly — this means it’s been fed about 4–6 hours before use, has doubled in size, and passes the float test (a spoonful should float in water).
2. Mix the Dough
In a large mixing bowl:
- Whisk together the bread flour and salt.
- In another bowl, combine filtered water and fed starter to form a slurry (this helps disperse the starter evenly).
- Pour the slurry into the flour mixture and mix with a Danish dough whisk or your hands until no dry flour remains. The dough will look shaggy and sticky — that’s perfect.
- Cover the bowl with a damp towel and rest for 30 minutes (autolyse). This rest helps develop gluten naturally.
3. Stretch and Fold Series
Over the next 2 hours, perform four sets of stretch and folds:
- Every 30 minutes, grab one side of the dough, stretch it up gently, and fold it over itself.
- Rotate the bowl and repeat 4–5 times per session.
- Each set strengthens the gluten and builds structure without kneading.
- By the last fold, the dough should feel smoother, tighter, and hold its shape better.
4. Bulk Fermentation (BF)
- After the last fold, cover and let the dough rise at room temperature until it has roughly doubled in size.
- Depending on your room temperature (ideally 75–78°F / 24–26°C), this can take 3–5 hours.
- Look for bubbles forming along the sides and a domed top.
5. Shaping
- Lightly flour your counter and turn out the dough.
- Gently pre-shape into a round and rest for 20 minutes uncovered.
- Then, do your final shaping — either round (boule) or oval (batard).
- Tighten the surface by tucking the dough under itself to create surface tension.
6. Cold Proof (Retardation)
- Dust your banneton generously with rice flour (it prevents sticking).
- Place the shaped dough seam-side up into the banneton.
- Cover with a plastic bag or wrap and refrigerate overnight (8–16 hours).
This slow fermentation deepens flavor and improves texture.
7. Preheat and Bake
- Place your Dutch oven (DO) in the oven and preheat to 450°F (230°C) for at least 45 minutes.
- When ready to bake, take the dough from the fridge.
- Flip it carefully onto parchment paper.
- Score the top using a sharp razor blade or lame (one confident slash about ½ inch deep).
- Transfer into the hot Dutch oven (be careful!).
8. Baking Time
- Bake covered for 30 minutes – this traps steam and gives that beautiful oven spring.
- Remove the lid and bake uncovered for another 15–20 minutes, until the crust is deep golden brown and the internal temperature reaches 210°F (99°C).
- If you like a darker, crispier crust, bake a few minutes longer.
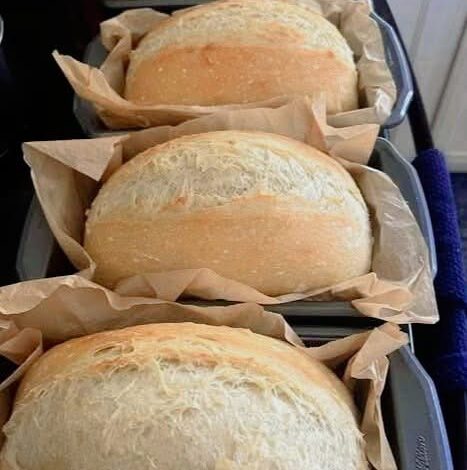
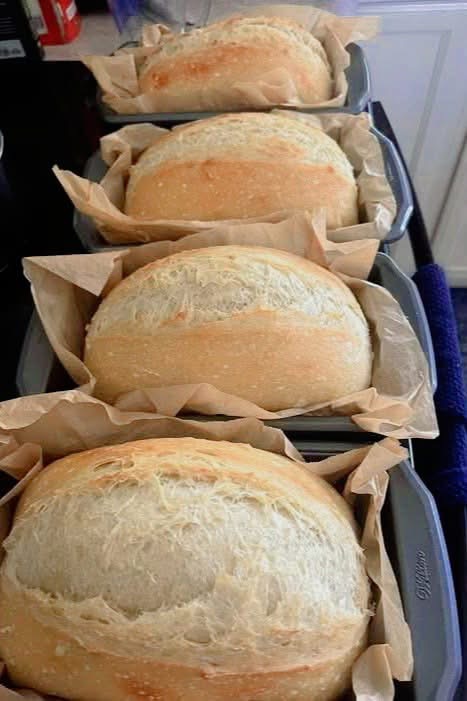
9. Cooling
- Transfer the loaf to a wire rack and cool completely for at least 1 hour before slicing.
(Cutting too soon releases steam and can make the crumb gummy.)
Notes for Perfect Crumb:
- Hydration (around 74%) – gives a tender, open crumb but still manageable for shaping.
- Gentle handling – don’t deflate the dough during shaping; keep the gas pockets intact.
- Overproofing warning: If your dough rises too much during bulk fermentation, it can weaken gluten and reduce oven spring.
- Underproofing warning: If it’s too tight and doesn’t rise enough, the loaf may burst unevenly when baked.
Tips & Variations:
- Add 10–20 g of whole wheat flour for a nutty flavor.
- For a tangier loaf, let your starter ferment longer before mixing.
- Brush the crust with water just before baking for extra shine.
- If you don’t have a Dutch oven, bake on a baking stone with a tray of water underneath for steam.
Benefits:
- Naturally fermented bread is easier to digest.
- Contains prebiotics and probiotics that support gut health.
- The long fermentation process helps break down gluten and improves nutrient absorption.
- Zero commercial yeast — just pure, slow-developed flavor.
Conclusion:
This sourdough recipe is a balance between art and patience. Every loaf tells a story — of your environment, your starter, and your hands. Once you find your rhythm and hydration sweet spot, you’ll bake sourdough that’s not just delicious but uniquely yours.